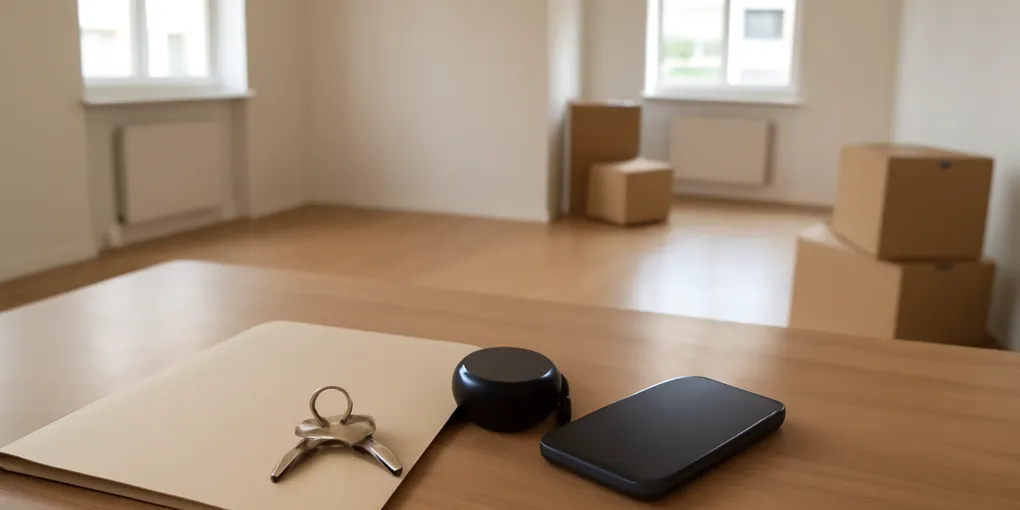
Renter Move-In Documentation Protocol: Record Condition Before Your Boxes Take Over
ProtocolQuick picks
| Product | Key Specs |
|---|---|
| Check 16-foot tape-measure options |
|
| Check expanding-file options |
|
Product availability, certifications, and retailer details can change; check the current Amazon page before buying.
Moving boxes create a fast visual cover-up. A scuffed baseboard disappears behind a bookshelf, a cabinet hinge issue is forgotten once dishes are unpacked, and a missing key is noticed only when the lease ends. A move-in documentation pass is not a decorating task. It is a dated record of the home’s condition before your belongings make that record harder to create.
This protocol is for renters who want a usable condition file, not an endless camera roll. It focuses on the places that later produce disagreement: floors, walls, appliances, water damage, windows, locks, keys, and any item the lease says you are accepting.
A short documentation kit
A 16-foot tape measure is enough to add a size reference beside a cracked tile, paint scrape, or damaged floor area. See price on Amazon. Take the wide and close-up photos first. The measurement makes the location easier to understand later; it is not a repair diagnosis or a substitute for reporting a safety issue.
Keep paper records in a 12-pocket expanding file only if the property uses signed forms or paper notices. See price on Amazon. A 12-pocket layout can separate the lease, move-in list, key receipt, utility records, and repair correspondence without becoming a household filing cabinet. Scan signed originals before sending them.
Do the record before the first full unload
If possible, do the walk-through with the property manager. If that is not possible, start as soon as you receive access and before the room is filled. Keep the lease, the landlord’s condition form if one exists, a phone with enough storage and battery, a charger, and a small tape measure together.
Begin every room with a wide photo from the doorway. Then take closer photos of walls, floor edges, ceilings, windows, built-ins, smoke alarms, vents, and light fixtures. Photograph an issue twice: once close enough to show the scratch, stain, crack, or loose part, and once wide enough to show its location. A close-up of a chip without a room reference is much less useful later.
For appliances, photograph the exterior, visible damage, and model label when accessible. Test only the ordinary functions you can safely test during move-in: running water, drains, lights, toilet flush, door locks, window latches, refrigerator cooling after it has had time to run, and the appliances supplied with the unit. Do not disassemble equipment or attempt repairs to prove a problem.
Use a room-by-room condition list
A photo folder becomes a record only when a future reader can find an issue. Create one note or spreadsheet with these fields:
| Field | What to record |
|---|---|
| Room and location | ”Bedroom 2, west wall near closet” is better than “wall” |
| Condition | Existing scratch, stain, crack, loose trim, or working issue |
| Evidence | Photo filename or short video filename |
| Date | Date captured and date sent |
| Follow-up | Reported, acknowledged, repair scheduled, or resolved |
Do not write “normal wear” as a shortcut. Describe what you can see: a three-inch paint scrape, a cracked tile at the sink edge, a cabinet door that rubs the frame. Descriptions make it easier for a manager to locate the item and reduce later argument about what a vague label meant.
Separate condition evidence from repair requests
Existing damage and a repair need can overlap, but they are not identical. A scratched counter may need only documentation. A leaking pipe or non-latching exterior window needs an immediate written repair request. Send repair reports through the property’s designated channel, use the lease contact details, and preserve a copy of what you submitted.
The U.S. Department of Housing and Urban Development recommends learning the condition of a unit and keeping records related to a tenancy. State and local landlord-tenant rules can set their own notice requirements and deadlines, so the lease and local housing authority are the right source for what must be submitted and when.
Photograph utility meter readings if you are responsible for service, and record the number of keys, fobs, remotes, mailbox keys, and parking devices provided. These are small details that are difficult to reconstruct at move-out. Keep any move-in inventory sheet with the lease rather than inside a random moving-box folder.
A two-folder setup is enough
Use a folder named 2026 move-in condition for photos and a folder named 2026 rental records for the lease, signed condition form, notices, and repair correspondence. Within the photo folder, name files by room and issue, such as kitchen-cabinet-hinge-loose-2026-07-20.jpg. Avoid editing photos in ways that remove their original date information; if you mark up a copy, retain the original too.
Paper copies still have a role when the property manager requests a signed form. Photograph or scan the completed form before sending it. A slim expanding file can hold the signed copy, key receipt, and initial utility paperwork. Skip a large filing system: this is one tenancy record, not a household archive. For longer-term appliance and warranty documents, see our manuals and warranty folder protocol.
What deserves same-day escalation
Write immediately rather than adding these to a future checklist:
- Water leaks, mold-like growth, sewage odors, or electrical damage.
- A door, window, lock, smoke alarm, or carbon-monoxide alarm that does not work as expected.
- Broken stairs, railings, major trip hazards, or damage that affects safe entry.
- A missing appliance or fixture promised in the lease.
For an emergency, follow the emergency instructions in the lease and use local emergency services where appropriate. A move-in photo is evidence; it is not a substitute for reporting an urgent habitability or safety issue.
Keep the file usable through move-out
After submitting your report, add the response and any repair completion note to the same folder. When a new issue appears during the tenancy, make a fresh dated entry instead of changing the original move-in record. At move-out, repeat the wide-room and close-up approach after your belongings are gone and before keys are returned. That gives you comparable records from both ends of the tenancy.
The concrete payoff is simple: you can point to a dated kitchen-cabinet photo or an emailed repair request without searching years of messages. That is more useful than an elaborate inventory app that nobody opens again.
Renter move-in documentation FAQ
Should I send every photo to my landlord?
Usually, submit the completed condition report and the specific evidence requested by the property. Keep the full photo set yourself. If the portal limits uploads, ask how the manager wants supplemental evidence delivered and keep the sent copy.
Can I use video instead of photos?
A short room video can add context, but it is harder to inspect and label than photos. Use both when helpful: a wide video walkthrough plus still photos of each issue.
What if the landlord does not provide a checklist?
Make your own room-by-room list, date it, send it through the stated contact channel, and retain proof of delivery. Check the lease and local rules for any required format or deadline.
Sources
Frequently Asked Questions
- Yes. Photograph each room, any existing damage, appliances, fixtures, windows, and meter readings before furniture or boxes hide the condition.
- Include the date, room, issue, close-up and wider photo, appliance or fixture details, key count, and any item sent to the landlord or property manager.
- Follow the lease or local instructions. Send the completed condition report and repair requests within the stated move-in window, and retain a copy.