School Paper Inbox Reset Protocol: Stop Permission Slips, Artwork, and Lunch Menus From Taking Over
ProtocolQuick picks
| Product | Key Specs |
|---|---|
| See price on Amazon |
|
| See price on Amazon |
|
| See price on Amazon |
|
Product availability, certifications, and retailer details can change; check the current Amazon page before buying.
School paper clutter moves fast because every page has a different clock. A lunch menu may matter for one week. A permission slip may need a signature tonight. Artwork may be emotionally important but not urgent. A classroom flyer may be outdated before it leaves the backpack.
This protocol is for families where school papers land on counters, tables, backpacks, and the car floor. If mail is the bigger household pile, start with why mail piles hide bills. If backpacks themselves are blocking the entry, see why backpack drop zones become trip hazards. School papers need an action path, not a bigger memory box.
Product starting points
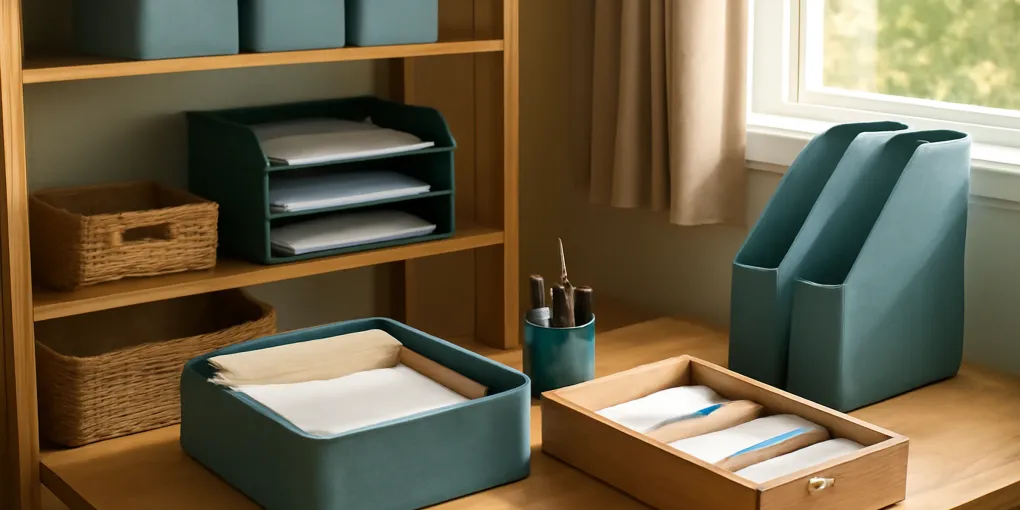
- Visible inbox: Search Amazon for acrylic three-tier paper trays when papers need to be seen and sorted near the drop zone.
- Archive box: Search Amazon for Smead hanging file boxes when finished records and selected artwork need to leave the counter.
- Wall option: Search Amazon for wall pocket file organizers when counter space is not available.
Pick the smallest system that separates action from storage. A beautiful file box is wrong for unsigned forms that must go back tomorrow.
Step 1: Empty every school-paper landing spot
Check backpacks, lunch bags, car seats, the entry table, the kitchen counter, the dining table, and the fridge door. Put every school paper in one temporary pile. Include artwork, graded papers, permission slips, medical forms, fundraiser sheets, calendars, lunch menus, and notices.
Sort into four groups: act, reference, save, recycle. Act means sign, pay, return, RSVP, or add to a calendar. Reference means a lunch menu or schedule that stays visible for a short time. Save means records or selected artwork. Recycle means duplicates, expired flyers, and papers already captured elsewhere.
Step 2: Build a three-lane inbox
Use three visible lanes near the adult decision point:
| Lane | What goes there | Review rhythm |
|---|---|---|
| Sign or pay | Permission slips, fees, forms, RSVP pages | Same day |
| Calendar or reference | Menus, schedules, event reminders | Twice a week |
| Save or scan | Selected artwork, records, certificates | Weekly |
Do not create a lane called miscellaneous. Miscellaneous is where school papers go to expire.
Step 3: Separate artwork from action papers
Artwork needs a different rule because the emotional decision slows the whole system. Keep one display spot for current favorites. Put possible keepers in the save or scan lane. At the end of the week, choose a small number to keep, photograph bulky pieces if desired, and recycle the rest.
This is not about treating children’s work as trash. It is about preventing every page from competing with the medical form that has to be returned tomorrow. The action lane should never be buried under art.
Step 4: Add dates immediately
When a paper has a date, put the date on the family calendar or phone calendar before the paper moves to reference. If a form needs payment, attach the payment method or note the online payment step. If a paper needs a signature, sign it before it leaves the action lane.
Schools and pediatric groups emphasize keeping emergency contacts, medication instructions, and health forms accurate. That organizing lesson is concrete: health and permission papers need faster handling than general flyers.
Step 5: Close the loop at backpack time
The system works only if completed papers return to the backpack. Put a small outbox or clip beside the inbox. After signing a form, place it in the outbox, then move it to the backpack during the morning or evening routine.
If papers are getting signed but not returned, the missing piece is not storage. It is a backpack handoff. Put the outbox where the backpack is packed, not where papers look neat.
Practical score
| Factor | Weight | What matters |
|---|---|---|
| Action visibility | 30% | Forms needing signatures or payment are impossible to miss. |
| Date capture | 25% | Events and deadlines move to the calendar quickly. |
| Artwork boundary | 20% | Keepsakes do not bury urgent papers. |
| Backpack handoff | 15% | Finished forms return to school on time. |
| Counter footprint | 10% | The system does not steal food-prep or homework space. |
Where to put the station
The best location is where backpacks are opened and an adult naturally pauses. For many homes, that is a kitchen edge, entry console, mudroom shelf, or desk near the family calendar. Avoid the middle of the dining table because the system has to be moved for meals. Avoid a child’s bedroom if the adult signs forms elsewhere.
If counter space is limited, use a wall pocket. Mount it low enough for children to add papers but high enough that toddlers cannot empty it. Keep it away from stovetops, sinks, and sticky snack zones. School papers should not absorb cooking grease or disappear under grocery bags.
When to scan and when to keep paper
Scan or photograph papers that are useful for reference but do not need to return physically: class schedules, supply lists, event instructions, and artwork you want to remember without storing every sheet. Keep paper originals when the school requires a signed return, when a medical instruction must travel with a child, or when a record may be needed later.
A scanner or phone camera is only helpful if the digital copy is named and filed. Use a filename such as 2026-07-11-school-physical-form.pdf or 2026-07-11-artwork-ocean-project.jpg. Otherwise the phone camera roll becomes the same clutter in digital form.
School paper FAQ
Should each child have a separate tray?
Only if the shared action lane is failing because papers get mixed by child. Many families do better with one action lane and child names written on the paper or calendar item.
How long should lunch menus stay out?
Keep the current menu only. Replace it when the new one arrives and recycle the old copy. If the school posts menus online, a calendar link may replace the paper entirely.
What is the best way to store school-year keepsakes?
Use one labeled file or box per child per year. Keep report cards, certificates, a few representative art pieces, and records you may need later. Do not let the keepsake box become the action inbox.
Sources and safety notes
- AAP school health and emergency contact context: https://www.healthychildren.org/English/ages-stages/gradeschool/school/Pages/Back-to-School-Tips.aspx
- Utah State University Extension family school-year organization tips: https://extension.usu.edu/relationships/research/the-school-year-is-here-10-tips-to-help-you-get-organized
Frequently Asked Questions
- Three is enough for most homes: sign or pay, calendar or reference, and save or scan. More trays usually create more hiding places.
- Display a few current pieces, photograph or save a small number, and recycle the rest on a routine schedule instead of letting every page become permanent.
- Permission slips need an action tray within sight of the adult who signs them, not a backpack pocket, dining table pile, or archive box.