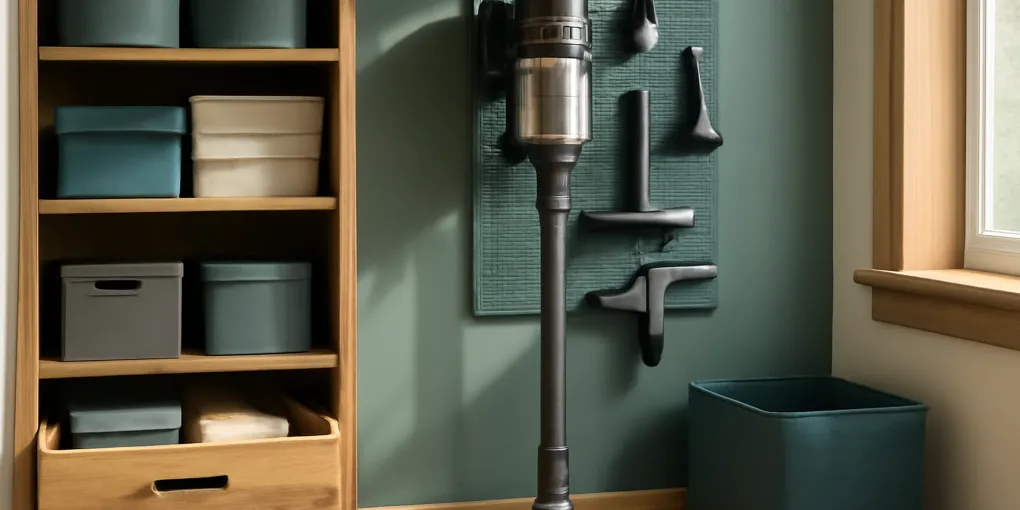
Vacuum Attachment Storage Protocol: Stop Losing the Crevice Tool
ProtocolQuick picks
Clear lidded bin for vacuum attachments
★ Top pick Best for tool kits- Why consider it: Keeps crevice tools, upholstery brushes, pet tools, and spare filters together without hiding which pieces are missing.
Wall-mounted vacuum accessory holder
Best for utility closets- Why consider it: Moves long wands and hose tools off the closet floor when the wall can be safely mounted into studs or anchors.
Cord wrap or cable strap set
Best for chargers- Why consider it: Prevents charging cords and spare batteries from becoming the new tangle beside the vacuum.
Vacuum attachments disappear because they are useful in bursts. The crevice tool comes out for a sofa gap, the upholstery brush moves to a bedroom, the pet tool sits near the stairs, and the spare filter remains in its shipping sleeve. By the time the vacuum needs to do a whole-room job, the tool kit is no longer a kit.
The fix is a small protocol, not a larger closet. Put every attachment through the same test: does it need to live with the vacuum, on the wall beside it, or in a labeled maintenance bin? If the answer is not obvious, the piece will drift.
If your closet already has cleaning-supply clutter, start with the utility closet chemical separation protocol before adding more hardware. This page is for the vacuum-specific pieces that keep leaving their zone.
Quick picks for the vacuum zone
- Best all-purpose fix: a clear lidded bin for crevice tools, brushes, spare filters, and manuals you still need.
- Best wall fix: a wall-mounted accessory holder for long wands, flexible hoses, and awkward pet tools.
- Best charger fix: reusable cable straps or a cord wrap so the charger does not spread across the shelf.
- Skip if: the organizer hides the tools behind opaque sides, requires the vacuum to be disassembled every time, or blocks a closet door.
The protocol
- Put the vacuum, charger, hose, wand, brushes, spare bags, and spare filters in one place.
- Remove pieces that belong to a vacuum you no longer own.
- Separate daily attachments from maintenance supplies.
- Put daily attachments in a visible bin or wall rack within arm’s reach of the vacuum.
- Put spare filters, belts, bags, and tiny adapters in a labeled maintenance pouch or smaller box.
- Wrap the charging cord so it reaches the outlet without crossing the floor.
- Check the kit after the next two cleaning sessions and move any tool that was annoying to return.
This is intentionally boring. Vacuum tools need a landing place that is easier than dropping them on the washer, a garage shelf, or the stairs.
What belongs in the daily kit
The daily kit should hold the pieces you actually attach during routine cleaning: crevice tool, dusting brush, upholstery brush, pet-hair tool, and the wand or hose if it detaches. These should be visible without dumping the container.
A clear lidded bin works when shelves are available. Search for clear lidded bin for vacuum attachments (check current options on Amazon) and choose a bin long enough for the crevice tool, shallow enough to see into, and easy to lift with one hand.
A wall-mounted accessory holder works when the closet has real wall space. Search for wall mounted vacuum accessory holder (compare current options on Amazon) if your problem is long tools falling behind the vacuum. Mount into a stud or use anchors rated for the load; do not rely on weak adhesive hooks for hard plastic wands that get bumped.
What belongs in maintenance storage
Spare filters, bags, belts, specialty screws, small adapters, and printed warranty cards do not need to sit loose beside the crevice tool. They need a maintenance packet. Use a small labeled box, zipper pouch, or the original bag if it is still intact.
Keep the label specific: machine brand, model family, and part type. A generic “vacuum stuff” label invites unrelated cords and brushes. If you own two vacuums, use two maintenance packets.
For washable filters, follow the manufacturer’s cleaning and drying instructions. Do not put a damp filter back into a closed storage box. A damp filter can make the whole kit smell dusty and musty, and it can confuse the next user into installing a filter before it is ready.
Charger and battery rule
Cordless vacuums add a second clutter pattern: chargers, spare batteries, and wall docks. The charger should either live on the dock or be wrapped and stored with the maintenance packet. Search for cord wrap cable straps (browse current options on Amazon) if the cord currently snakes through the closet.
Do not bury chargers under cleaning liquids or heavy bins. The National Fire Protection Association’s home electrical guidance emphasizes keeping electrical cords in good condition and avoiding hidden damage or overloads. Treat the charger as an electrical item, not as a random accessory.
Fit matrix
| Vacuum problem | Better storage choice | Avoid |
|---|---|---|
| Small tools disappear | Clear lidded bin | Deep opaque basket |
| Long wand falls behind vacuum | Wall accessory holder | Loose floor corner |
| Spare filters mix with dirty tools | Labeled maintenance pouch | Open bin with used brushes |
| Charger cord crosses closet floor | Cord wrap or dock | Extension cord tangle |
| Two vacuums share a closet | Separate labeled kits | One mixed accessory pile |
Weekly reset
At the end of the week, return every tool to the kit, empty dust from loose brushes, and check whether the charger is wrapped or docked. If one attachment keeps ending up in a different room, either move the whole vacuum zone closer to that room or buy a second copy only if the tool is truly used there every week.
This is the same principle behind cleaning supply organizers: the container should reduce walking and searching, not become a junk drawer with a handle.
Vacuum attachment FAQ
Should attachments stay on the vacuum?
Only the one or two tools used every session should stay clipped to the machine. Extra tools fall off, catch on closet walls, or make the vacuum harder to park.
What if the original accessory bag is flimsy?
Replace it with a clear bin or zipper pouch that fits your shelf. Keep any model-specific labels or part numbers, but do not keep packaging that makes the tool harder to use.
How do I store a hose attachment?
Coil it loosely if the manufacturer allows it, or hang it on a wide hook that does not kink the hose. Do not crush it under a bin.
Sources
- NFPA electrical safety in the home — supports treating chargers and cords as visible, inspectable electrical items.
- ESFI extension cord safety tips — supports keeping cords visible, undamaged, and away from unsafe routing.
Reader test
A reader can choose a clear bin for small vacuum tools, a wall holder for long attachments, and cable straps for chargers. The article is specific to vacuum storage because it deals with crevice tools, wand length, washable filters, model-specific bags, hose kinks, and cordless charger clutter.
Frequently Asked Questions
- Store them in one visible kit near the vacuum, not scattered across the laundry room, garage, and junk drawer. A clear lidded bin or wall accessory holder works for most homes.
- Yes, if they are sealed and labeled for the correct machine. Keep dirty washable filters separate until dry so the attachment kit does not become a damp dust bin.
- Wall storage is better for long wands and hose tools. A bin is better for small brushes, spare filters, and pieces that would fall from hooks.